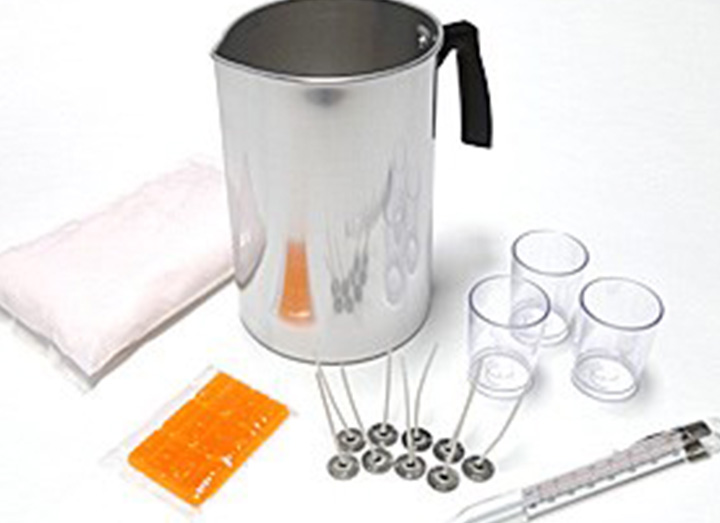
Candle Making Instructions

1. Heating, processing, mixing, and pouring your waxes:
Place the candle wax in the pouring pitcher or wax heater and heat it until it is completely liquefied. Heating the candle wax up to 200 degrees F is generally fine. We suggest adding the color and additives to your wax right around 190 degrees F. Fully agitate it for several minutes, this will ensure that the wax has an even temperature throughout and the mix is blended thoroughly. Turn your heating unit down and let the wax cool to the recommended pouring temperature. We suggest adding the fragrance just before pouring: this avoids prolonged heating of the fragrance, which may contribute to some of the fragrance being lost. It is imperative to agitate once again before pouring into the mold or containers. We can’t stress enough the importance of pouring at the correct temperature, pouring too hot may cause excessive shrinkage which may cause you to have to do multiple re-pours. On the other hand pouring too cool may cause unwanted air bubbles, blemishes, and other defects on your candle’s finish. Pouring at the incorrect temperature can also make it extremely difficult to get the candle out of the mold.
Once you have the initial pour done, your work is not over. It is a typical property of wax to shrink when cooled, which may require you to do a re-pour. There are certain container candle wax blends that may not need a re-pour. Typically, most waxes do require a re-pour or top-off. Make sure you save enough wax from the original batch so the color of the top-off is consistent with the first pour. With container waxes we suggest letting the wax completely solidify before the re-pour, this will help you to keep it to one top-off. In pillar and votive candles it may require some experimenting but we suggest waiting only an hour or two before re-pouring. Many times if you wait too long the wax will begin to shrink and pull away from the top of the mold. This will be a problem on the top-off, because when you do the top-off the molten wax will run down the side causing unwanted wax streaks on your candle’s finish.
2. Mold or container preparations:
Whether you are making container candles, votives and/or pillar candles, we suggest that you pre-heat your molds or containers. A cold mold or container may cause surface chilling on your candle. Heating them will help you obtain a very smooth and clean finish on your candle. We also suggest that you use some type of silicone mold release every 4-5 pours in your mold. This will ensure that you will have no difficulties in getting your candle out.
3. Cooling
Depending on your wax formula or the type of finish you are trying to achieve on your finished candle, you will need to consider the cooling methods. Candles may be cooled at room temperature or force-cooled by circulating air, refrigeration, or cold-water baths. If you are making container candles, we suggest letting the candle cool at ambient temperature to help minimize shrinkage. Force-cooling container candles usually results in separation between the wax and the glass, causing undesirable wet spots.

Lovely website! I am loving it!! Willl come back again. I am bookmarking your feeds also
+ for the post