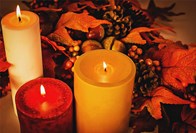
How to Make Pillar Candles
When Making a Pillar Candle, You’ll Need the Following Items:
Making your own candles can be exciting, but don’t forget to gather all the materials and tools you’ll need to get started!
- Pouring Pots
A pouring pot is needed to hold your liquid wax and enable you to pour it into your candle molds. - Thermometer
No candle shop can be without this important tool. - Wick Bar (needed only with aluminum molds)
This bar is used to secure the wick on top of the mold. - Rubber Plugs (needed only with aluminum molds)
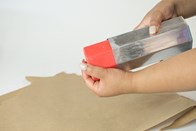
Great for sealing the bottom of the mold. - Mold Release
This silicon-based mold release should be sprayed into any type of mold to make it easier to remove the finished candle from the mold.
Remember follow all Safety Guidelines and General Instructions to create the best candles possible.
Step 1: Choose the Proper Wax
Now that you’ve gathered your candle making equipment, it’s time to select your wax for the pillar candle or candles you would like to make.
To help simplify the process for your first attempt at making pillar candles, Candlewic recommends that you select from among the following three waxes, because they require no additives.
Ecosoya® PB Pillar Soy Wax for Pillar Candles
This wax offers excellent scent throw and is self-releasing from molds.
Votive/Pillar Blend Wax CBL-141
A high-quality, consistent, blended wax designed to hold large amounts of fragrance and easily release from molds.
Mottling Wax for Pillar/Votive Candles
This is a great wax to use when you want to make mottled candles.
Step 2: Select Your Scents

When making pillar candles, any one of our more than 350 fragrances is suitable, including ultimate scents, standard fragrances, and our various scents that we have on sale.
For good-scented candles, we recommend that you use a 5% fragrance level, which is about one ounce of fragrance for every pound of wax. So, for every case of wax you purchase, you will want to order 2.5 to 3 pounds of fragrance.
Step 3: Select Your Color
You can make candles in any color through the use of different types of candle dye. For smaller batches and good color consistency, we think color blocks are the best way to go. We offer a wide selection of colors, including white and black.
Step 4: Choose Your Wick
Selecting a wick can be complicated, because there are many factors involved in determining wick size, including the wax you select, how much scent you plan to use, and even the colors you’ve chosen for your candles. We generally recommend the use of flat, braided wicks with Pillar Candles.
| 2″ Diameter | 3″ Diameter | 4″ Diameter | |
| CBL-141 | 18 Ply or 21 Ply |
24 Ply or 27 Ply |
30 Ply or 36 Ply |
| 4045 H | 15 Ply or 21 Ply |
21 Ply or 24 Ply |
24 Ply or 27 Ply |
| Ecosoya PB | See datasheet | See datasheet | See datasheet |
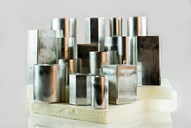
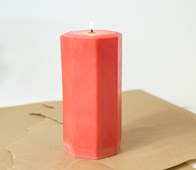
Step 5: Select Your Mold
Candlewic’s selection of candle molds is extensive and allows you to choose to make different shapes and sizes of pillar candles. We also offer molds made from several different materials, including aluminum and polycarbonate. The type of candle you desire to make will dictate which molds you should use.
Aluminum Candle Molds
Are great for making standard round, square, octagon and even oval candles.
Designer Candle Molds
Made of high-quality polycarbonate, these molds enable you to make unique and geometric shaped candles. Another benefit to keep in mind: Polycarbonate molds generally will enhance the gloss of your candle.
Step 6: Pre-Heat Your Mold
When making pillar or container candles, we suggest that you pre-heat your molds or containers. A cold mold or container may cause surface chilling on your candle. Heating will help you obtain a very smooth and clean finish on your candle.
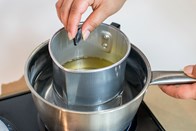
Step 7: Heat Your Wax
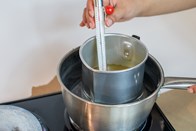
Place the candle wax in the pouring pot or wax heater and heat it until it is completely liquified. Generally, you may heat the candle wax up to 200 °F; however, we suggest adding color and most other additives at a temperature of 190 °F.
Step 8: Add Color and Agitate the Mixture
Add your color to your wax when the temperature reaches 190 °F, and fully agitate the mixture for several minutes to ensure that the wax has an even temperature throughout and the mixture is thoroughly
blended.
Step 9: Reduce Heat to Recommended Pouring Temperature
Consult the data sheet for your specific wax to find the recommended pouring temperature. We cannot stress enough the importance of pouring your wax at the correct pouring temperature. Pouring when the wax is too hot may cause excessive shrinkage, which may require you to do multiple re-pours. Pouring when the wax is too cool may cause unwanted air bubbles, blemishes, and other defects on your candle’s finish. Pouring at the incorrect temperature can also cause difficulties with removing your candle from the mold.
Step 10: Add Fragrance and Agitate the Mixture
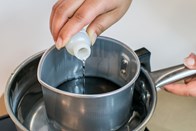 We recommend that you add your fragrance just before pouring. This avoids prolonged heating of the fragrance, which may cause some of the fragrance to be lost. Agitate the mixture again before pouring it into your molds.
Step 11: Pour the Wax into Your Mold
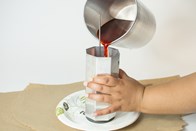 Carefully pour your wax into the mold. Be sure to leave enough room in the mold to accommodate a re-pour to top off your candle.
Step 12: Cool and Re-Pour to Top-Off Your Candle
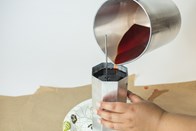 It’s important to save enough wax from the original batch so that the color of your re-pour/top-off is consistent with your first pour. Typically, most waxes require a re-pour or top-off.
As for cooling prior to your re-pour, you may need to do some experimenting. However, we suggest that you wait only an hour or two before re-pouring. If you wait too long, the wax will begin to shrink and pull away from the top of the mold. This will create a problem during the top-off, when the molten wax will run own the sides of your candle, leaving unwanted wax streaks on your candle’s finish.
Step 13: Cool
Allow your finished candle to cool. Depending on your wax formula or the type of finish you are trying to achieve on your candle, you will need to consider the different cooling methods.
Candles may be cooled at room temperature or force-cooled by circulated air, refrigeration, or cold-water baths.
Step 14: Remove from Mold
 Remove your finished candle from the mold. We recommend that you use some type of silicone mold release, like Candlewic’s Mold Release Spray, in your molds once for every six pours to ensure that you will have no difficulties in removing your candles from the molds.
For aluminum and other metal candle molds, Candlewic also offers our Mold Cleaner to help remove build up from dyes and fragrances on your metal molds.
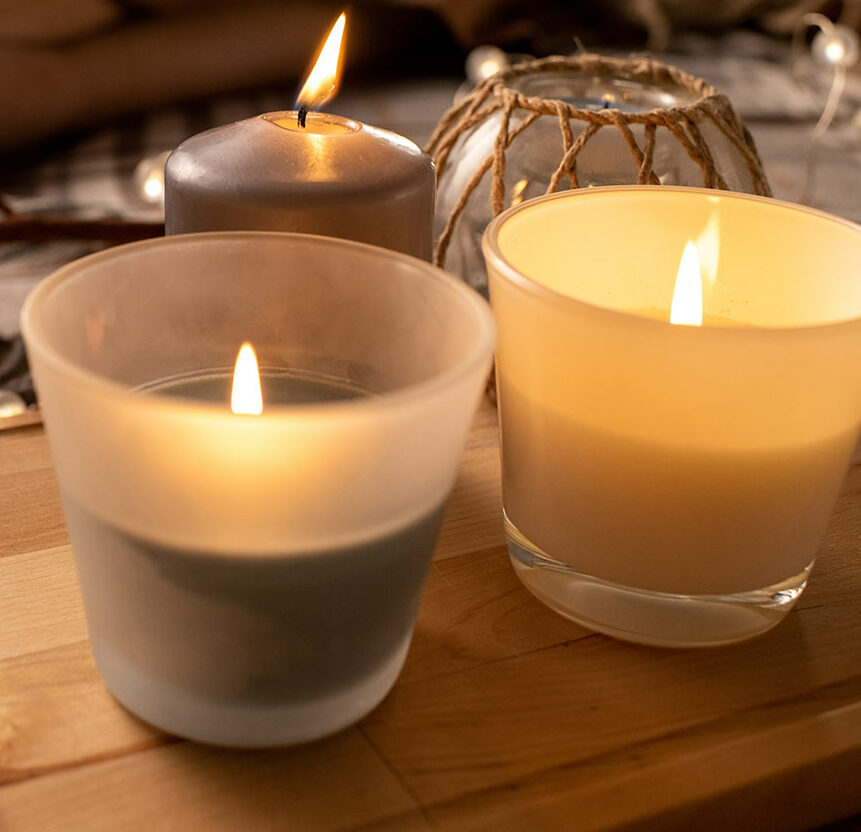
Step 15: Enjoy Your Finished Candle!
 We hope you’ve enjoyed this guide on how to make pillar candles. Please share with your friends through social media
I am looking to make a candle in a blue coloured glass container 6 cm square by 18 cm high, 750m/l volume. What typ of wax, wick do you recommend for this? As the glass is coloured, wax colour is not an issue. What scents do you supply?
We would recommend using the CBL-125 and wick size either RRD-34 or RRD-37 depending on how much color fragrance you plan on adding.
Hi Team, while we are making the pillar candle and once it’s ready there are been white patches at the bottom Or sometimes a tiny hole at the side of one layer.. Kindly share some tips to fix it
Will depend on which wax you are using but would recommend pouring the wax a bit hotter.
I loved this step-by-step guide! I’ve always wanted to make my own pillar candles, and the tips about choosing the right wax and fragrance were super helpful. Can’t wait to try it out with the Candlewic kit!
I just tried making pillar candles using your kit, and I loved how easy the process was! The detailed instructions really helped, and my candles turned out beautifully. Can’t wait to experiment with different colors and scents next time! Thanks for the inspiration!